Introduction
In recent years, mini-split systems have gained immense popularity due to their energy efficiency, ease of installation, and ability to provide targeted cooling or heating. However, many homeowners often wonder: Can I install my own mini-split system? This guide aims to answer that question while providing a comprehensive overview of the entire installation process. Whether you're looking to save money on professional installation or simply enjoy DIY projects, this article will equip you with everything you need to know about installing your own mini-split system.
Can I Install My Own Mini-Split System? A DIY Guide
Yes, you can install your own mini-split system! However, it requires a certain level of skill and understanding of HVAC (Heating, Ventilation, and Air Conditioning) principles. The key is preparation and knowledge. If you feel confident in your abilities and are willing to learn about the components involved, DIY installation can be an economical choice.
Understanding Mini-Split Systems
Before diving into the installation process, let’s take a moment to understand what a mini-split system is.
What is a Mini-Split System?
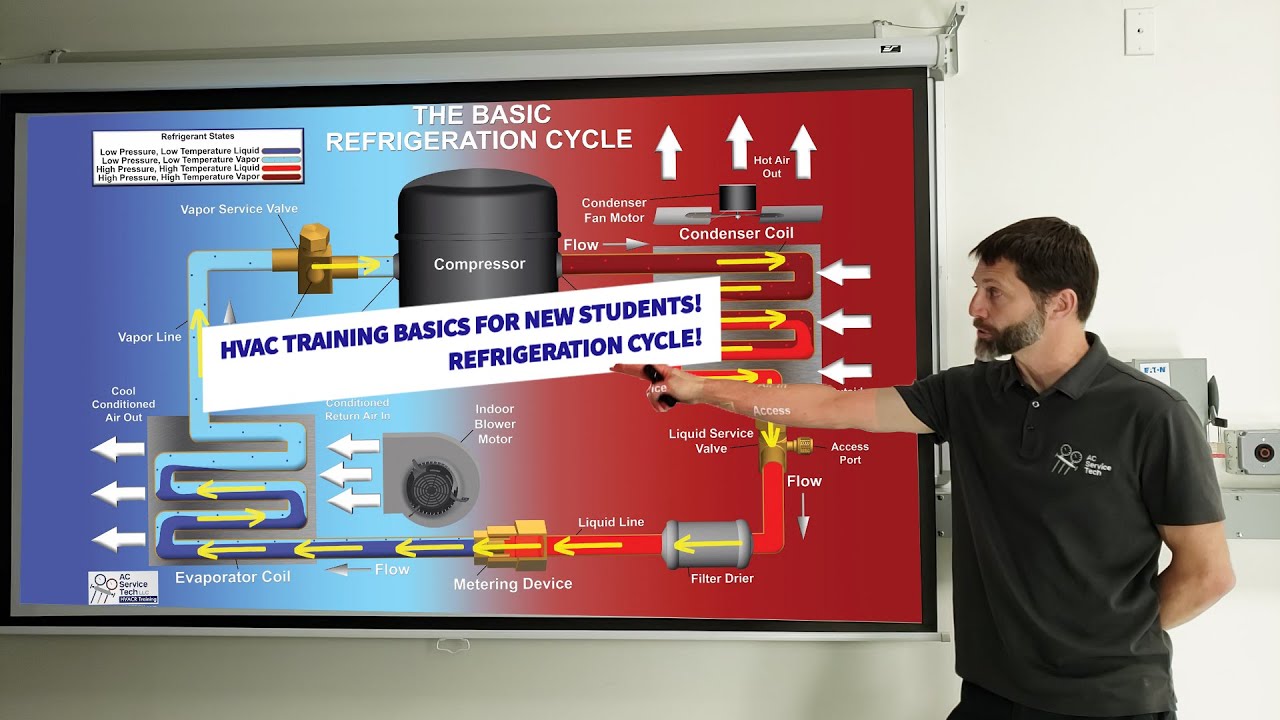
A mini-split system consists of two main components: an outdoor unit and one or more indoor units. These systems allow for individual temperature control in different rooms or zones within your home.

Advantages of Mini-Splits
- Energy Efficiency: Mini-splits use less energy compared to traditional HVAC systems. Zoned Heating/Cooling: You can cool or heat specific areas without affecting others. Flexible Installation: They require no ductwork, making them ideal for retrofitting.
Components of a Mini-Split System
Understanding the parts you'll be working with is crucial for successful installation.
Indoor Unit
This unit distributes cool or warm air throughout the room. It typically contains:
- Evaporator coil Fan Air filter
Outdoor Unit
The outdoor unit houses:
- Compressor Condenser coil Expansion valve
Refrigerant Lines
These lines connect the indoor and outdoor units and carry refrigerant between them.
Tools Needed for Installation
To install your mini-split system efficiently, gather these tools:
Drill Screwdrivers Wrenches Level Refrigerant gauge setPlanning Your Installation
Proper planning can make all the difference in ensuring a smooth installation process.
Choosing Location for Indoor Unit
Selecting the right location is essential. Look for:
- Wall space free from obstructions Proximity to an outlet High enough placement for optimal airflow
Choosing Location for Outdoor Unit
When positioning the outdoor unit:
- Ensure it’s on a stable surface. Avoid direct sunlight exposure if possible. Maintain clearance for airflow.
How Do I Know What Type of Air Conditioner to Buy?
When deciding on which mini-split system to purchase, consider factors like room size, insulation quality, and climate conditions. Check out resources like ACprices.ca for competitive pricing and options tailored to Canadian homeowners.
What Size of AC Unit Do I Need?
The size of your mini-split system matters significantly; an undersized unit will struggle while an oversized one will cycle frequently—leading to inefficiency.

BTU Calculation Method
To determine the correct BTU rating:
Measure room dimensions (length x width). Multiply by 25 BTUs per square foot (a general guideline). Adjust based on factors like ceiling height and window orientation.How To Install Your Own Mini-Split System
Step 1: Gather Your Materials
Ensure you have all necessary materials before starting your project:
- Indoor unit kit Outdoor unit kit Mounting brackets Insulation tape
Step 2: Mounting the Indoor Unit
Using a drill, mount the bracket securely onto the chosen wall location using screws that will support its weight.
Step 3: Drilling Holes for Refrigerant Lines
Drill a small hole through the wall leading outside where your outdoor unit will go—this hole should accommodate refrigerant lines and drainage pipes without obstruction.
Step 4: Installing the Outdoor Unit
Position the outdoor unit on pre-installed brackets or concrete pads ensuring it’s level and secure.
Wiring Connections Between Units
Connecting electrical wires between indoor and outdoor units requires caution:
Carefully follow manufacturer instructions. Use appropriate wire sizes based on recommended amperage. Secure connections with electrical tape.Connecting Refrigerant Lines
Attach refrigerant lines from indoor units to outdoor units. Ensure all connections are tight but do not overtighten as this may cause damage. Use vacuum pumps post-installation to remove air from lines before charging with refrigerant.Electrical Connections & Testing Functions
Once everything is connected:
Reconnect power supply Test each function (cooling/heating) individually Monitor performance over several daysFAQs About Mini-Split Installation
FAQ 1: What tools do I need?
You’ll need basic https://codycrtc593.lucialpiazzale.com/essential-questions-to-ask-before-hiring-an-ac-repair-company tools like drills, wrenches, screwdrivers, levels, and refrigerant gauges as mentioned earlier.
FAQ 2: How long does installation take?
Installation can take anywhere from 4 to 8 hours depending on experience level and complexity of setup.
FAQ 3: Is there any special licensing required?
In many regions including Canada, local laws may require specific licenses for HVAC work so it’s advisable to check regulations beforehand through resources like best AC Company Directory Canada.
FAQ 4: Can I get help if needed?
Absolutely! Many online communities exist where experienced DIYers share their insights along with local HVAC professionals who may assist as necessary!
FAQ 5: Are there warranties available?
Most manufacturers offer warranties that cover parts; however installing without professional help could void those warranties so ensure clarity beforehand!
FAQ 6: What if my unit isn’t functioning after installation?
Troubleshooting guides are usually provided by manufacturers but always consult qualified technicians when in doubt!
Conclusion
Installing your own mini-split system can indeed be feasible if approached with care and diligence! With adequate research into sizing needs through platforms such as ACprices.ca alongside attention paid towards following outlined steps precisely—successful installations become much more attainable! Enjoy enhanced comfort year-round while also saving on costs incurred from hiring professionals when opting for this rewarding DIY venture!
By following this detailed guide titled "Can I Install My Own Mini-Split System? A DIY Guide", homeowners can confidently embark on their journey toward efficient cooling solutions without breaking bank accounts in search of external assistance!